Week 9 - TurnTable
- meekin-s
- May 8, 2023
- 3 min read
For week 9 my team were preparing for a presentation about our project. We would be presenting to Holly Akrill. Her work presented here:
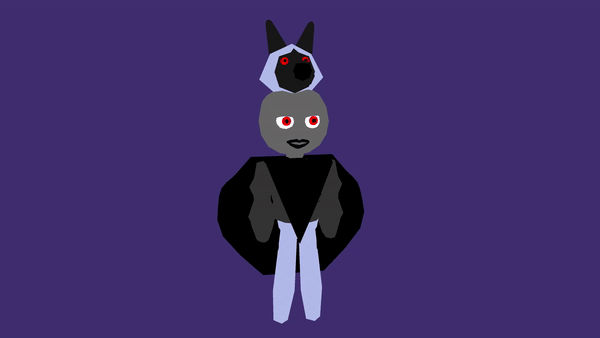
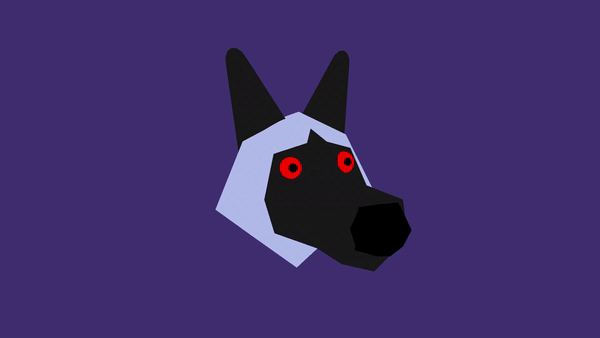
In order to do this I had to meet up with my team members to get a PowerPoint organised. We were able to get the layout of the presentation. As a character Artist I had to show my inspiration for my character as well as the traits of my character and who she is. In this stage I was able to name my character as Skye. Skye is a lone wolf and prefers to be by herself. She follows wolf like traits like wearing fur and having a literal wolf head. She has been chained in a cave as in the theme of Ragnarök there is a wolf called Fenrir. This was huge inspiration for me.


Another thing that character artist had to get sorted was a turntable. This makes your character spinning in a loop to show off a 360 view at any angle. To do this I had to click on the model of Skye. I then used the borders to help me Aline my model in frame for the turntable.


I then went to the animation tab and clicked visualise. I then adjusted the settings so that it will play up to 120 frames. Add images

This then makes a group that holds a camera for the turntable. I then clicked on it and went to Windows/ Animation Editor/Graph Editor. I then selected the line in the middle and used the straighten line tool. The reason I have done this is once the animation has reached the end of the line it will slow down and pause. In order to have a smooth transition without slowing down I had to apply this method to make a flawless turntable.


Once I was happy I then clicked this little icon to open the render settings. I made the Render setting Maya Software as I am using flat colours and this increases render times at high quality as there is no shadows that have to be rendered.


Once I applied these settings I then went to the render tab and clicked Batch render. This produces HD images of the render in a folder. This produced 120 images as the animation is 120 frames so it takes all those frames and converts them into images.

I then had to import the images into Adobe After Effects. This was the easiest method as once you clicked on the first image of the batch render it imported all of the images. I then right clicked on the Imported files and made a new composition from them.


This added the images into a video on the timeline. I then went to the composition tab and clicked add to render queue. I then clicked the Output to arrow selected my folder that I wanted to export and clicked ok. I then clicked the green play button to export as a video.

I then used a free gif maker website that turns videos into gifs. I selected my render and compressed it into a gif so that I could use it for my presentation.
Once our team got the slides ready we each recorded the slides that we wanted to present using OBS. We then sent all of the audio files and video files on discord so I could stitch them together as I have previous video editing skills. Once the video was edited on Premier pro I showed my team to get their approval if there were any issues. My team were very happy with the results and I proceeded to upload the video to YouTube. Once it was uploaded I then copied the link into a Thread on discord that was made by Sabrina so that the videos can be easily accessed to show to Holly.
Here is the gifs:


Here is the video:


Comments