Week 8 - UV's Part 2
- meekin-s
- May 9, 2023
- 2 min read
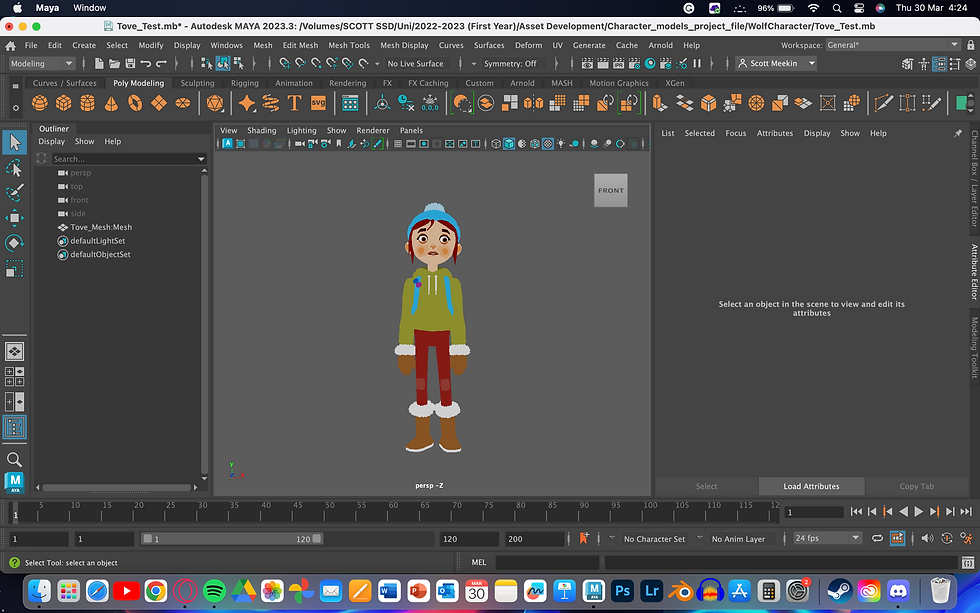
For the start of week 7, I followed a tutorial lesson that the lecturers provided us from the Animation department going through UV's. For week 8 I was tasked to use my new skills from the previous week to apply a UV to Tove's obj that was available from the Asset Development Trello board. In order to make a UV I had to go into the UV editor. This brought up all the meshes that have been used for Tove. In order to make the meshes coloured I had to add blocks of colour behind the UV's. In order to do this I had to use Photoshop, but this wasn't an issue for me as I already have photoshops skills so this wasn't difficult for me. When it came to the UV editor I had to take a snapshot of the editor.

Using the snapshot will help me with the layout and where colour swashes have to be. Maya has a built-in system for taking screen grabs so I had to change the settings before I screen grabbed it and the image had to be 512 by 512 pixels. Once I exported the screen grab I then created a Photoshop project that had a height and width of 512 pixels. I then imported the screen grab and used the rectangle tool to place squares under the layer of the imported image. This will then place a coloured square underneath the meshes.

I used a website called Colours that uses AI to find colours in an image when you upload it to the website. I decided to base my test on the character Shaggy from Scooby-Doo. Once I imported the image of Shaggy I was able to use the colours by copying the codes that the website picked and I then use it to change the colour of the squares in Photoshop. I had to bounce back and forward between Photoshop and Maya as you are able to highlight the mesh that you select and when you hit F it will actually highlight the mesh outside of the UV editor. This was very useful as it was able to show me what the shapes are so that I can keep the colours consistent so that the colours don't clash with each other creating a messy consistency of the character. Once I was done I was able to export this UV and import it onto Maya. *I had to remove the layer that had the screen grab as it would apply the black lines of the meshes and it created a horrifying Tove.

I was then able to fix this as I had left the grid lines in the Uv so I just removed them and it recoloured Tove the way I wanted it. I then turned down the Diffuse and it made the colours flat.


Comments