Week 3/4 - Obstacle Course about UVing on Maya
- Mumo ali
- Mar 20, 2023
- 2 min read

Updated: May 17, 2023
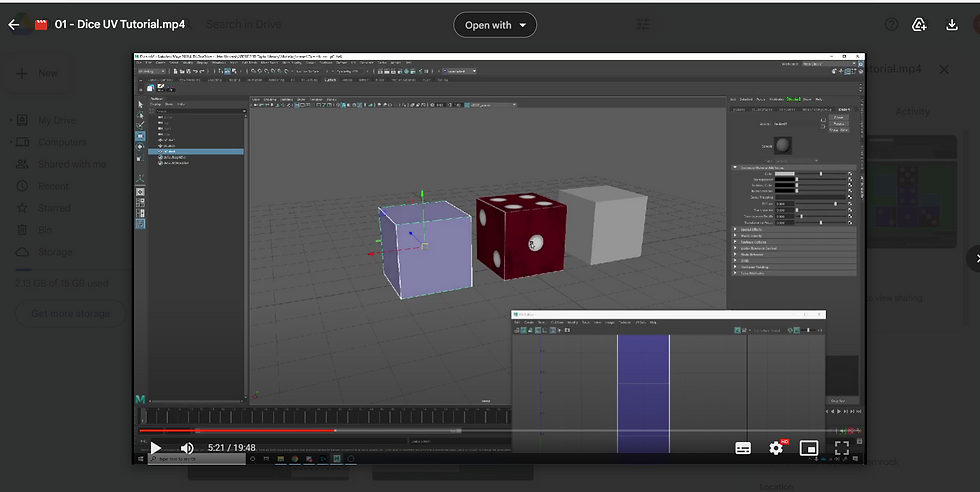
We were provided with a a file to download to do the obstacle course

I had downloaded the file and started creating the UV dice
After choosing lambert and adding in the dice material i had started to shape up the unfolded dice template (shown below)


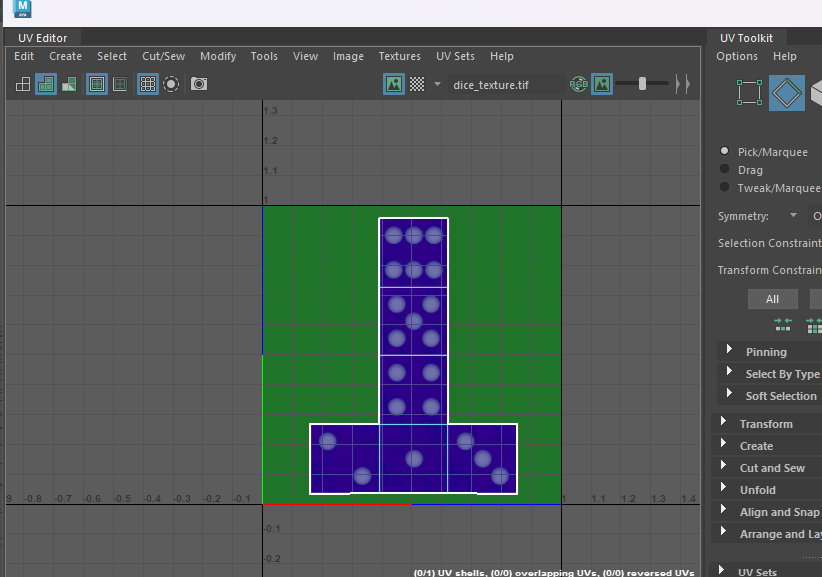
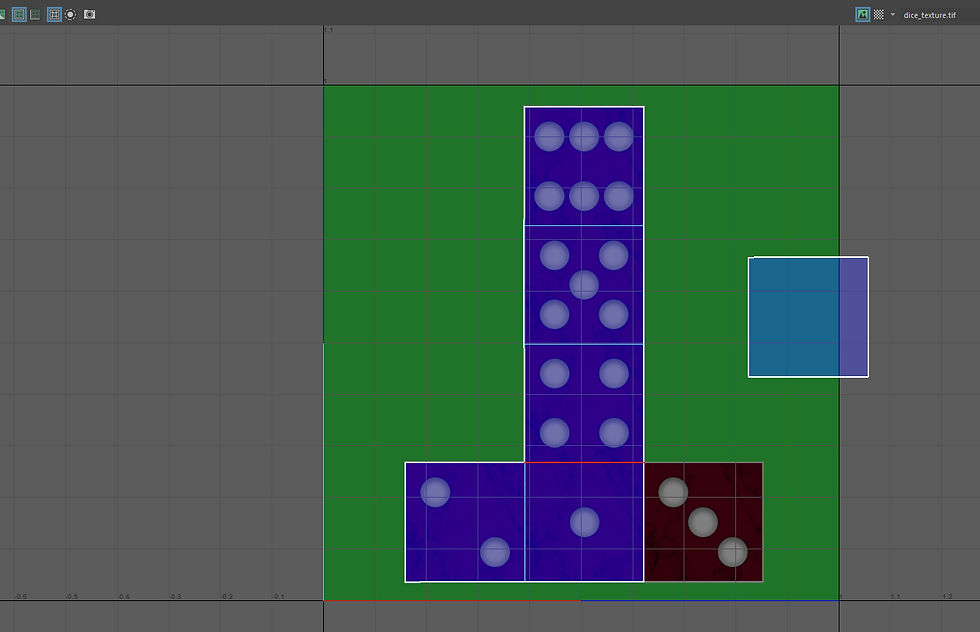
This is what it looks like after fixing the template and thats the dice UVing complete
CUT and SEW technique
This template shows that the template is in individual cubes therefore we will use the cut and sew tool to join the sides together but first we put in the dice material (you can use the material that you made for the last cube) then we start piecing the cubes together.

when the mouse is on the edge of the cube it will highlight where to connect the part to (make sure you have selected edge mode)

Highlight the face edges to choose which part you want to move and sew (means join the puzzle pieces together). Repeat the step till you get the dice template made ( you can use G to repeat the last action you've done). It should look like this
to move about the cube faces we will have to use the cut tool. select edge then face and move it aside and repeat to get the other face
Then swap around. You wont be able to cut and sew since the face doesn't correlate with that specific face therefore we will be merging them instead.
select vertex and drag while holding V to merge the points together
Hold down D to place the pivot points on the face and hold down V to snap the shapes into place.

and here is the final piece.
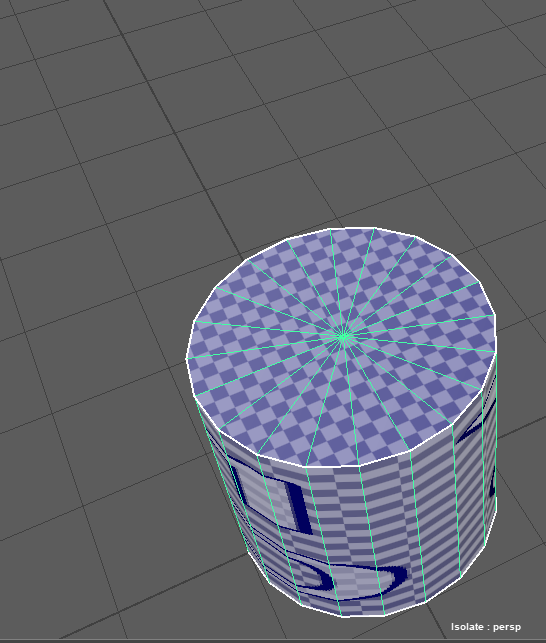
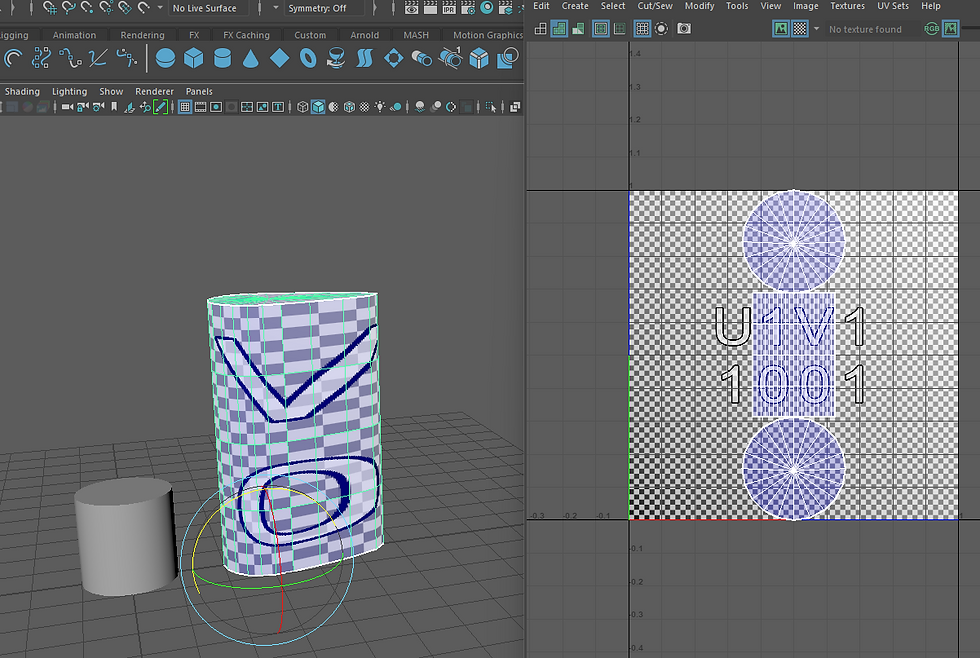
Cylinder UV
Open up the cylinder in UV editor.

As you can see the shape is quite stretched out therefore we will stretch the template out to look as even as the top part of the cylinder

Stretch it out like this but this will be best done on simple shapes therefore you can use the unfold option to simply unfold the many components that will be included in an asset like a character.
Modify > Unfold = the shape will be a bit slanted therefore you will have to rotate the shape to make it straight.


and now it is equal but its not even all sides therefore we will try to fix the resolution and make it equal to all faces of the cylinder
Object Mode > Modify > Layout


These should be your default settings

This should be the outcome afterwards.
shell padding and tile padding settings lets the shapes have room rather than being joint together.

what to do if the model is being changed around the scene
My layout was different from the video so i just went and did Modify > Layout

then it gave me this style of layout. I then freezed my transformations
UV > Modify > Unfold


rotated and fixed.
Shift + Right mouse and then unfold the 2 circles

and done


Comments